
Introduction:
Securing access to specific sections of your website is crucial, and one of the simplest ways to do this with Nginx is by adding password protection. This is particularly useful for staging environments, admin areas, or any sensitive content. In this guide, we’ll walk you through how to enable password protection (basic authentication) on Nginx.
Step 1: Install Apache Utils (if not installed)
Before adding password protection, you need to generate a password file using htpasswd. This tool comes with the apache2-utils package, so you need to install it first.
sudo apt update
sudo apt install apache2-utils
Step 2: Create the Password File
Next, use the htpasswd command to create a password file. This file will store the username and password.
sudo htpasswd -c /etc/nginx/.htpasswd yourusername
- The
-cflag creates the file, andyourusernameis the username you're setting up. You’ll be prompted to enter and confirm a password.
Note: If you need to add more users later, omit the -c flag to avoid overwriting the file.
Step 3: Configure Nginx to Use Password Protection
Now, you need to update your Nginx configuration to require a password for accessing certain parts of your site. Open the Nginx configuration file:
sudo nano /etc/nginx/sites-available/default
Find the server or location block where you want to add the password protection and add the following lines:
location /admin {
    auth_basic "Restricted Content";
    auth_basic_user_file /etc/nginx/.htpasswd;
}
- auth_basic: This sets the name of the protected area (in this case, "Restricted Content").
- auth_basic_user_file: This points to the
.htpasswdfile created earlier.
Step 4: Test and Restart Nginx
Once you’ve made the changes, you should test your Nginx configuration to ensure everything is correct:
sudo nginx -t
If the test is successful, reload Nginx to apply the changes:
sudo systemctl reload nginx
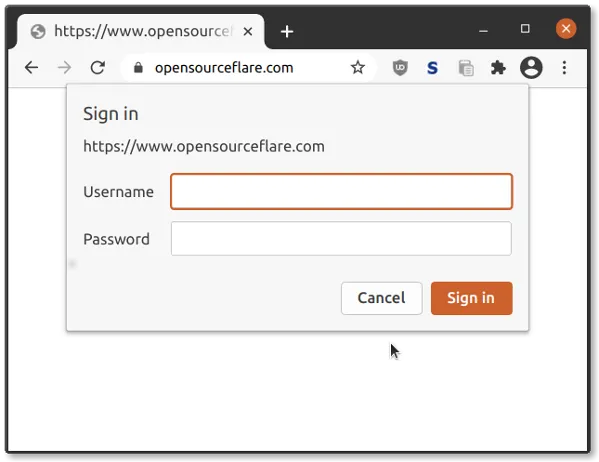
Step 5: Access the Protected Area
Now, when you visit the restricted area (e.g., http://yourdomain.com/admin), you’ll be prompted for the username and password.
Conclusion:
By following these steps, you’ve successfully added password protection to Nginx. This is a quick and easy way to secure certain parts of your website without needing more complex authentication systems.
